
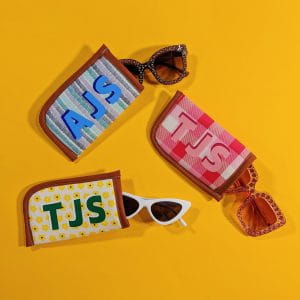
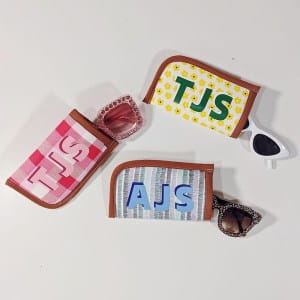
Fashionable Custom Eyeglass Case

Want a quick project to try over the weekend? This eyeglasses case is it! I love how you can customize it with anyone’s initials. This eyeglass case makes for a great gift for your friends and family. Customize your DIY eyeglass case with your favorite colors and prints. The sky’s the limit! I know that you will enjoy this project. Have fun!
Supplies:
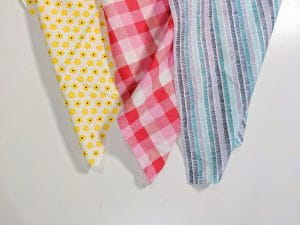
- Fat Quarter Cotton Fabric or ¼ yard of Cotton Fabric
- Double Fold Bias Tape
- ¼ yard Two-sided Fusible Flex Foam
- Fabric Vinyl
- Brother ScanNCut
Sew Eyeglasses Case:
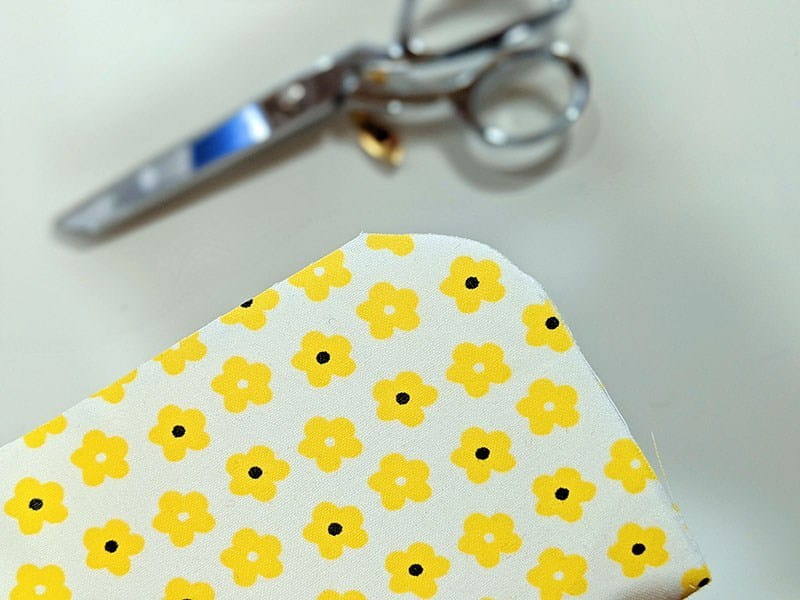
- Cut two rectangles out of your fabric at 8” x 13.5”. On the bottom end of one corner, cut a curved corner.
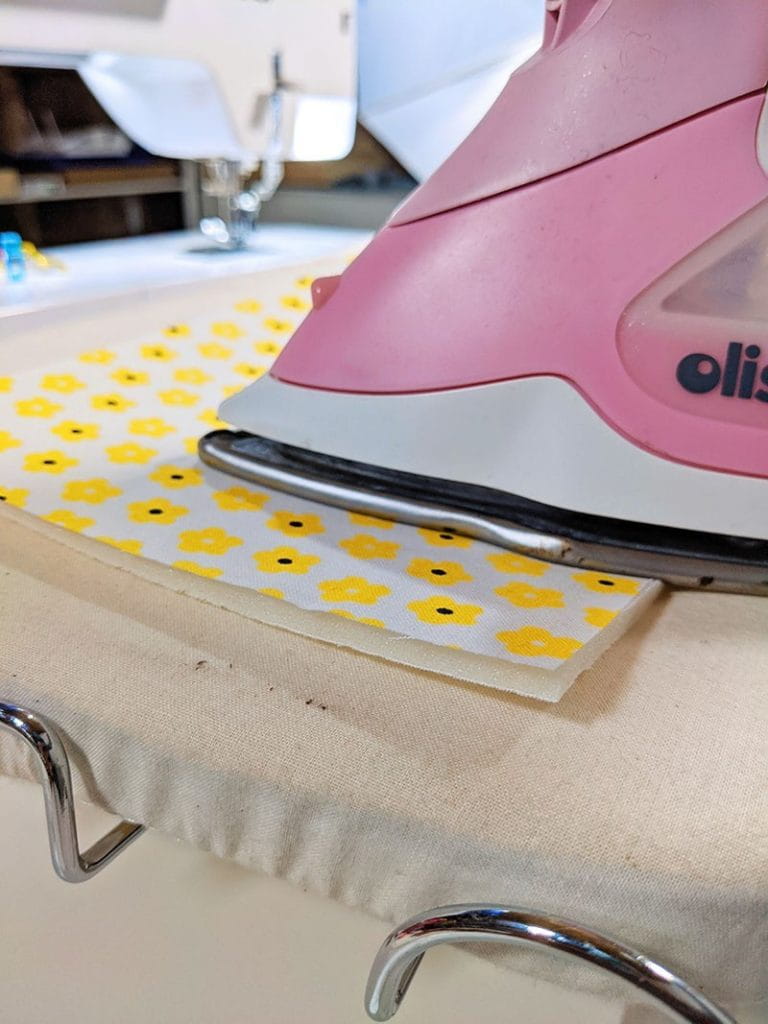
2. Cut one rectangle of your flex foam at the same measurement, 8” x 13.5”.
3. Adhere the fabrics to both sides of your flex foam with your iron. Make sure the right side of your fabric is facing out.
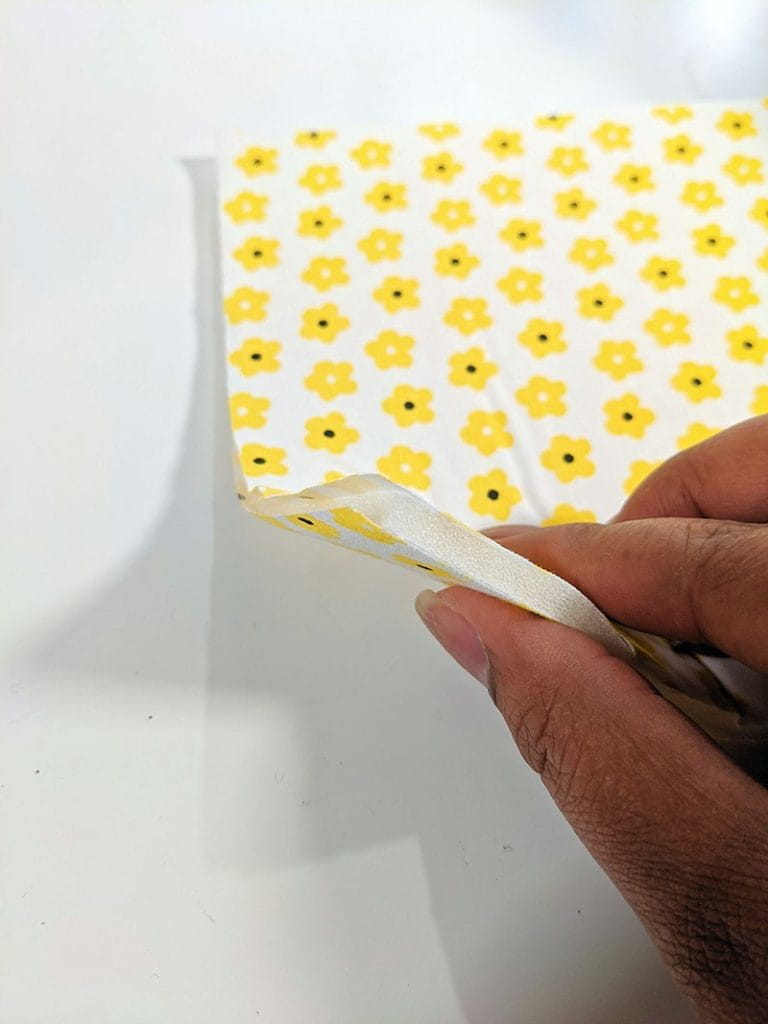
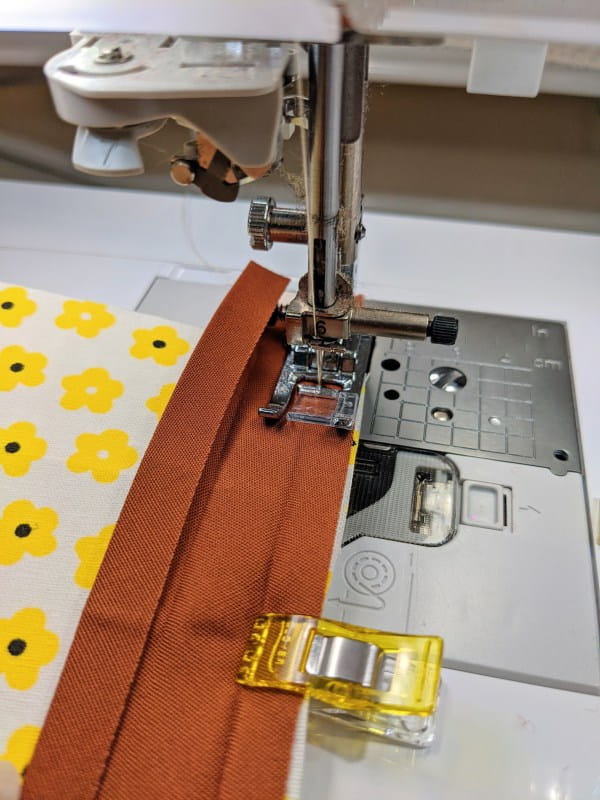
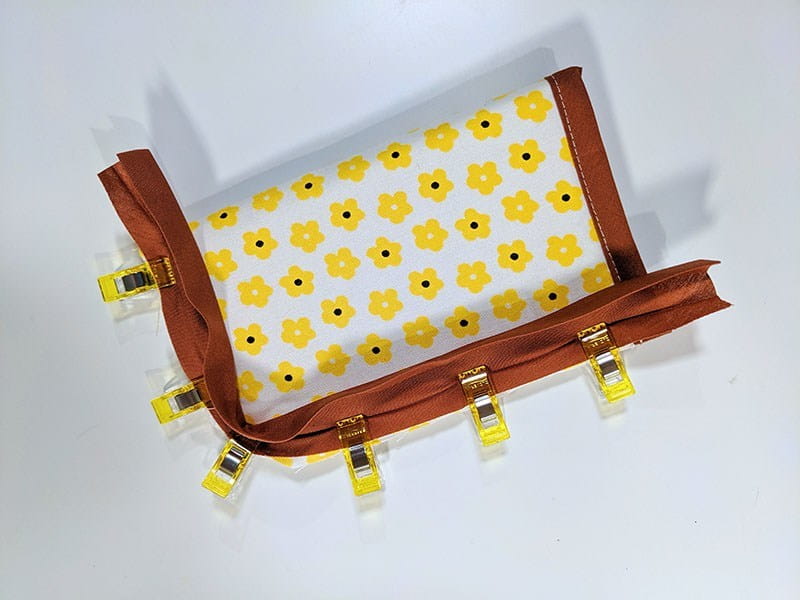
4. On the long side, pin your bias tape in place. On each end, the bias should extend about ½”.
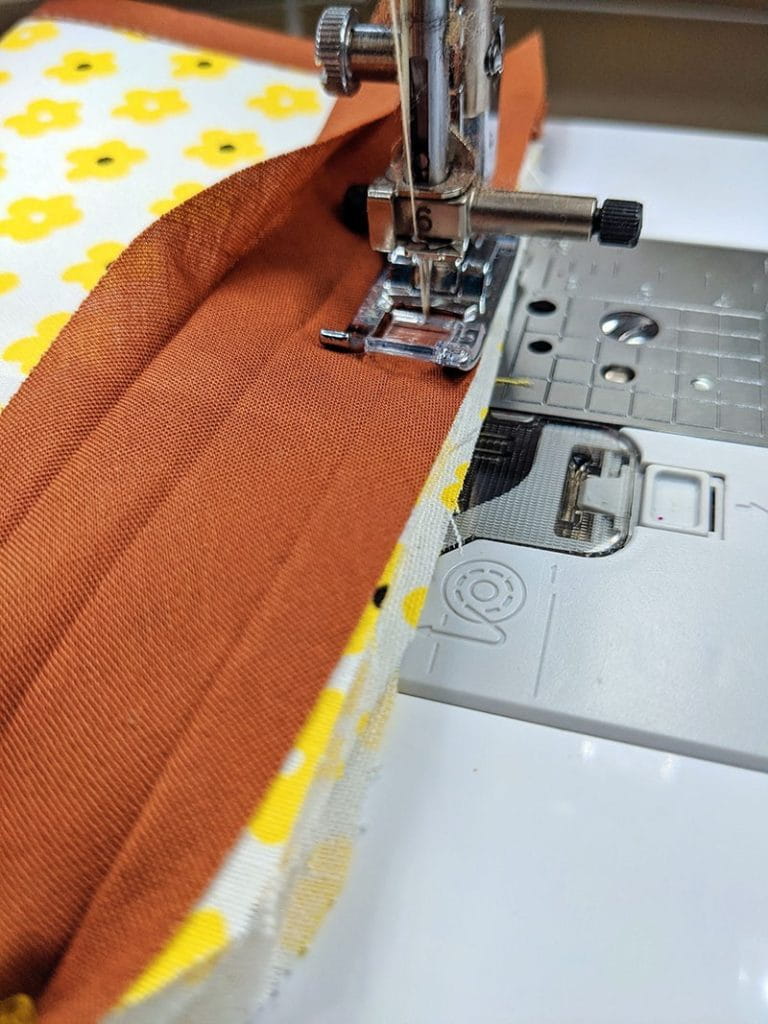
5. Stitch bias tape in place. As you are sewing, don’t forget to fold the ends of the bias tape inside the bias tape.
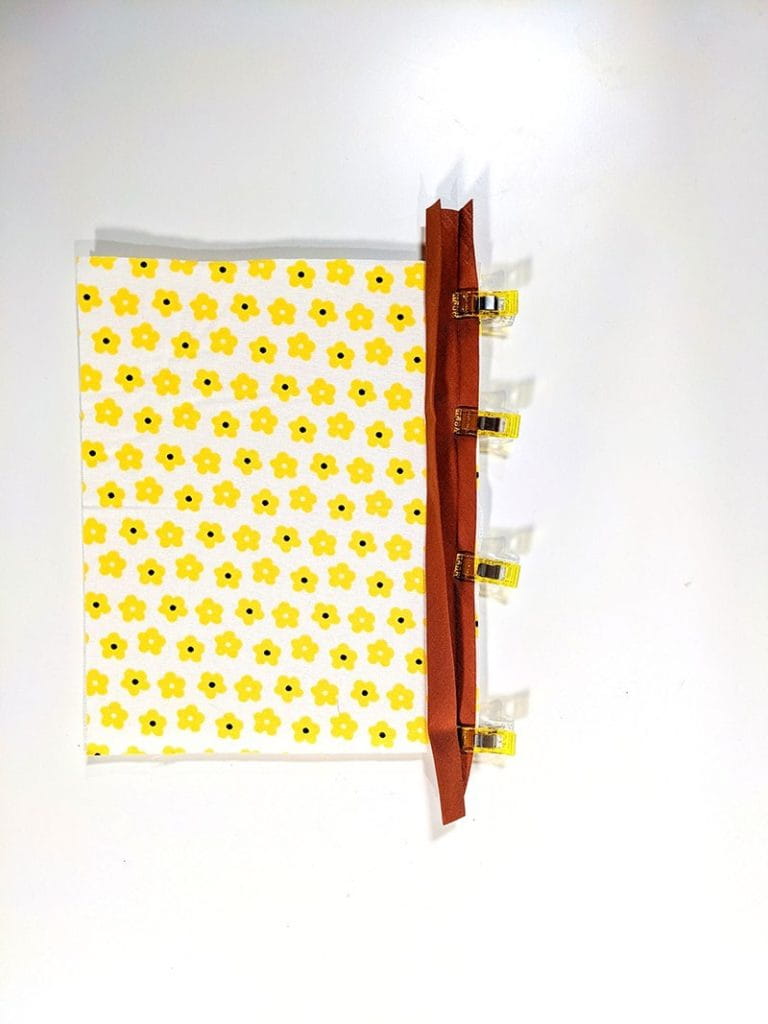
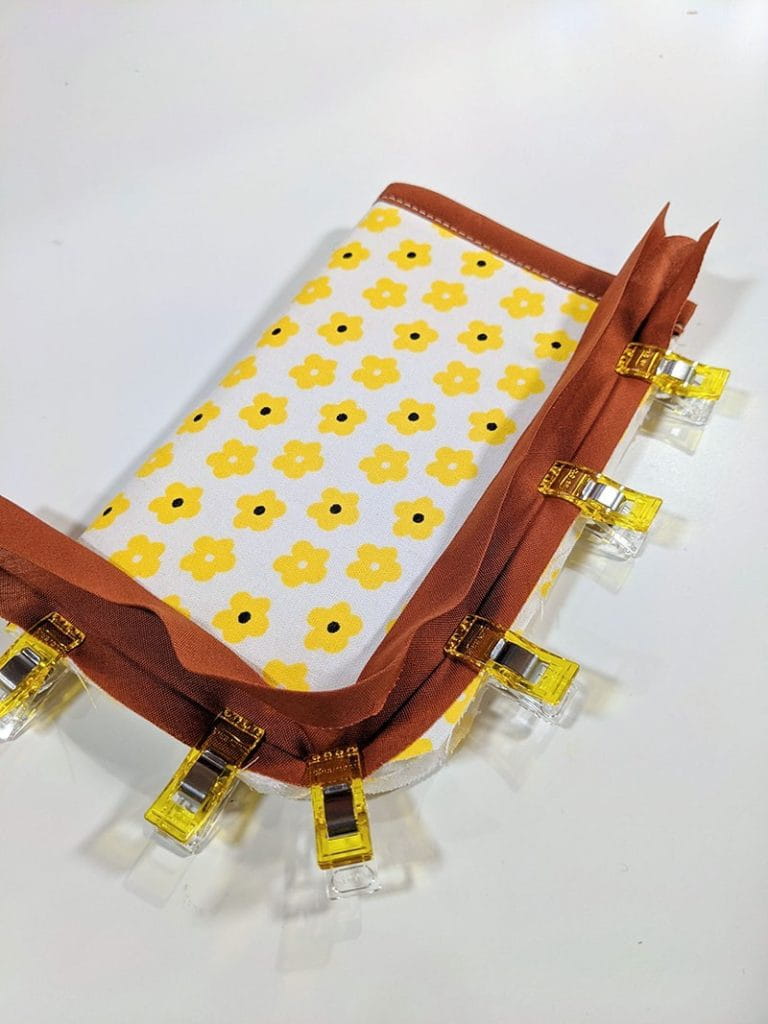
6. Fold your DIY eyeglass case in half and attach the bias tape on the outer edge.
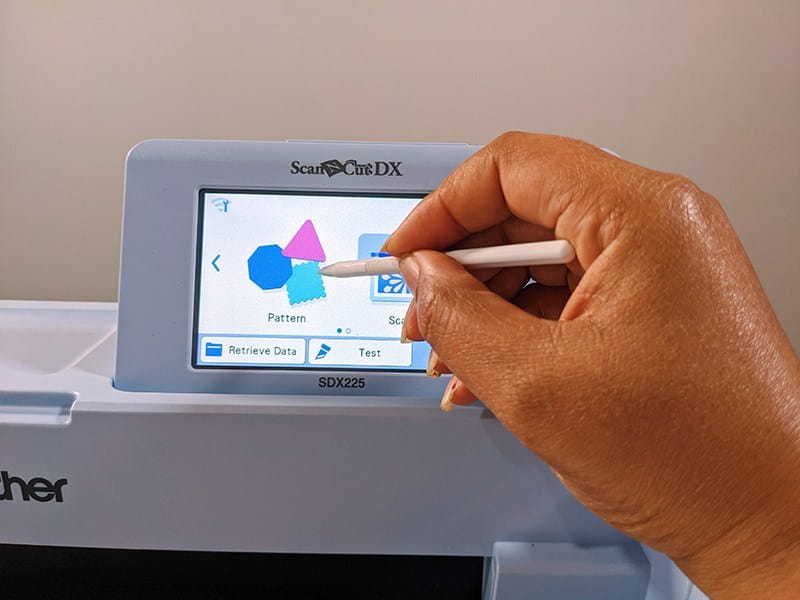
Cut Letters with Your ScanNCut:
- Place vinyl with shiny side down.
- On the ScanNCut, press on pattern
3. Press on the letters and choose your font. I chose FO-A001.
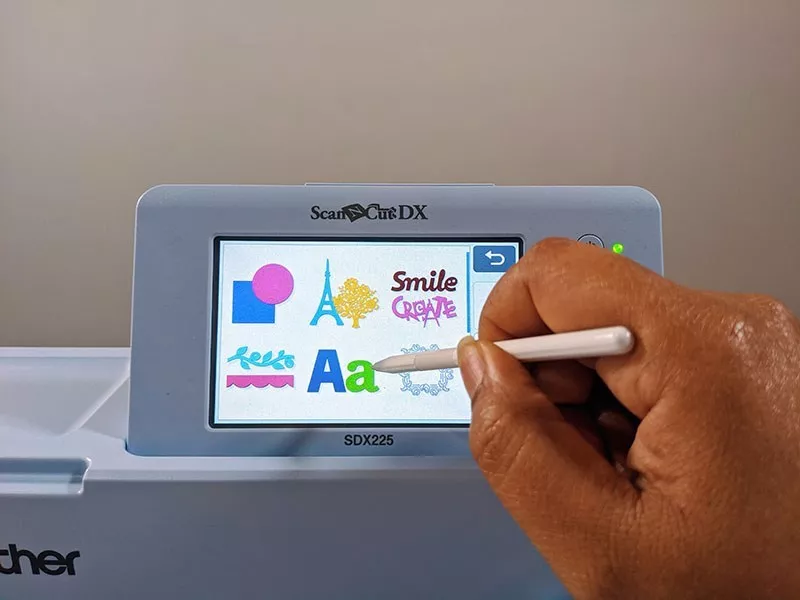
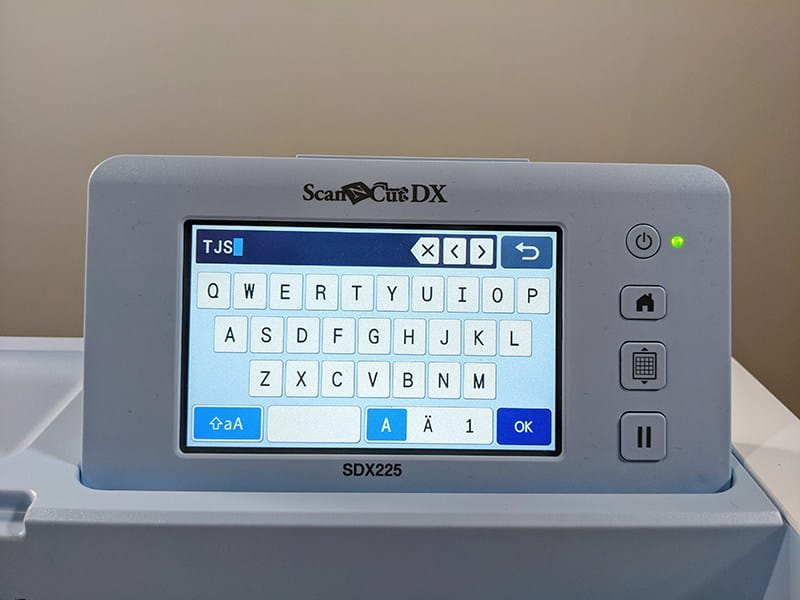
4. Type in your letters and press ok.
5. Adjust size to 1.74” height and pre-set.

6. Press Edit, then Edit Object.
7. Press on the duplicate button. You want to create two of the same image so adjust the number to 2.
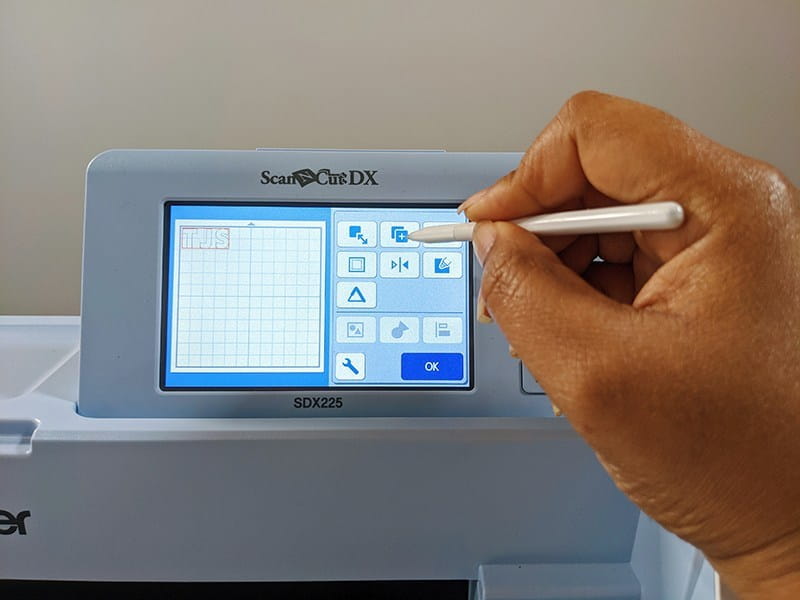
8. Now, press the mirror button. Be sure to mirror both sets of letters.
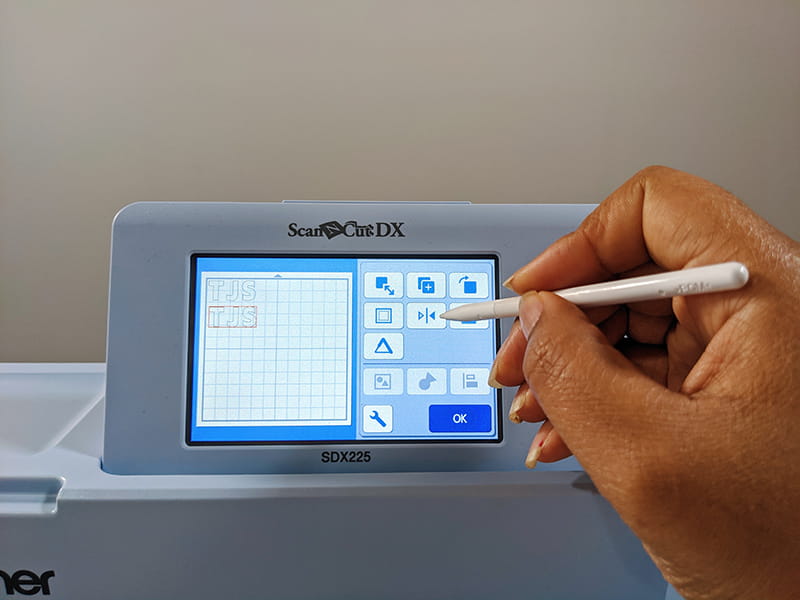
9. Click ‘OK’ three times to pass through the menu. Then, press ‘Please Select’ and ‘Cut’.
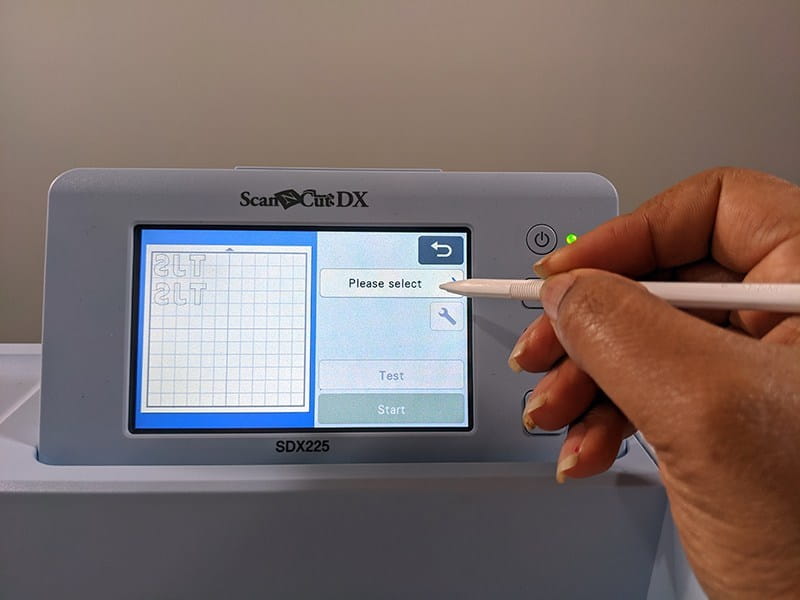
10. Click on the wrench to edit your cut to half cut
11. Before making your final cut, test your cut first.
12. If your letters come out clean, proceed with your cut. If not, adjust the pressure and test again until it comes out clean.
13. Once you’re finished cutting, press ok.
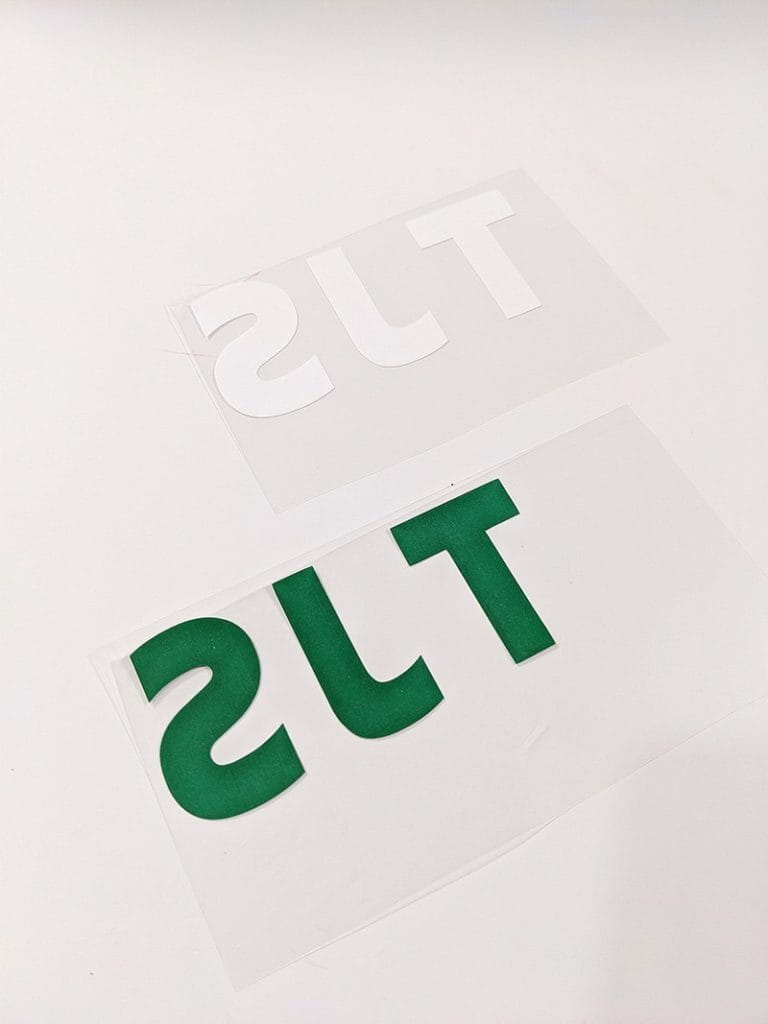
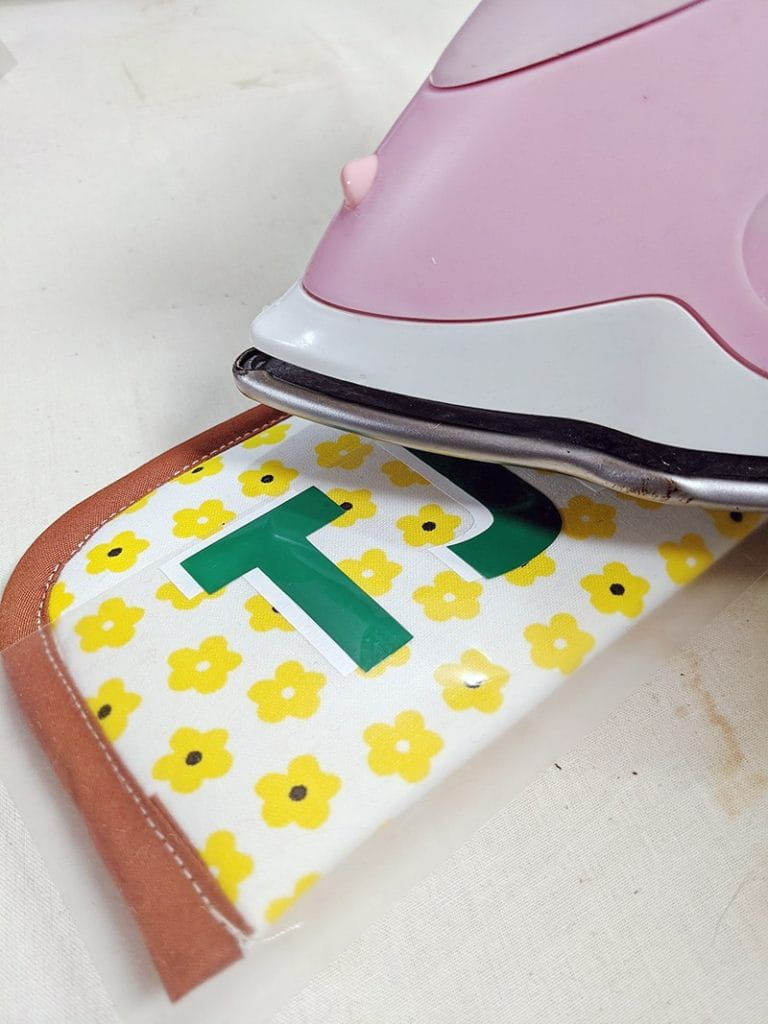
Press Your Letters onto Case:
- Center your first set of letters in the middle of your case. Press in place.
- Place your second set of letters on top but, move it slightly over to create a shadow effect. Press in place.
FINAL LOOKS:

This article has been republished from Brother Sews USA. The original article can be seen here: http://blog.brothersews.com/sewing/fashionable-custom-eyeglass-case/

Update an Old Shirt with Embroidery
Hello everyone. Laura here from Trash to Couture. For this post, I will share with you how to embroider onto a collared shirt with the Brother SE625 Sewing and Embroidery Machine. This is a great way to update old or boring clothing. The SE625 has a set of built in floral patterns that I will be using on this denim …

Quick Tip: Exploring Options for Elongation Stitches
Elongation style stitches are much more fun than their rather technical name implies. The term elongation simply means that patterns in this category of decorative stitches can be re-sized in a range from 1 to 5. As they are re-sized, the pattern or shape of the stitch is maintained. Examples in the photo above show …
Continue reading “Quick Tip: Exploring Options for Elongation Stitches”

Get Creative with a Customized Cell Phone Case
Need a little pizazz? Time to get busy and dial in your own cool style with a customized cell phone case! Supplies: Fabric, felt, pins, Brother Sewing Machine Note: Smartphone sizes change so quickly, so we recommend basing measurements to the size of yourpreferred phone model. This sleeve is supposed to fit very snugly to keep the …
Continue reading “Get Creative with a Customized Cell Phone Case”